Some cravings come out of nowhere. This morning, I woke up thinking about chocolate chip banana bread. Not just the taste of it, but the feeling attached to it. The warmth of it. The comfort. The kind of recipe that somehow carries memories inside of it.
That thought immediately made me think about my mom.
She was not a big baker, but banana bread was one of the things she made so well. Hers always had nuts in it, and it was honestly hard to stop eating once it came out of the oven. The smell alone could fill the entire house. Over the years, I tried to recreate that recipe, but one of my children has a tree nut allergy, so I had to make changes. Eventually, chocolate chips became the replacement, and somehow it turned into its own tradition. Different from my mother’s version, but still connected to her in a way that matters.
Today happens to be junk food night in our house, so I decided to lean into the craving and make a loaf for breakfast. Nothing fancy. Just comfort food made from what I already had sitting in the kitchen.
I used:
- 6 very overripe bananas
- 2 cups of flour
- 3/4 cup of sugar
- 1/2 cup of extra virgin olive oil
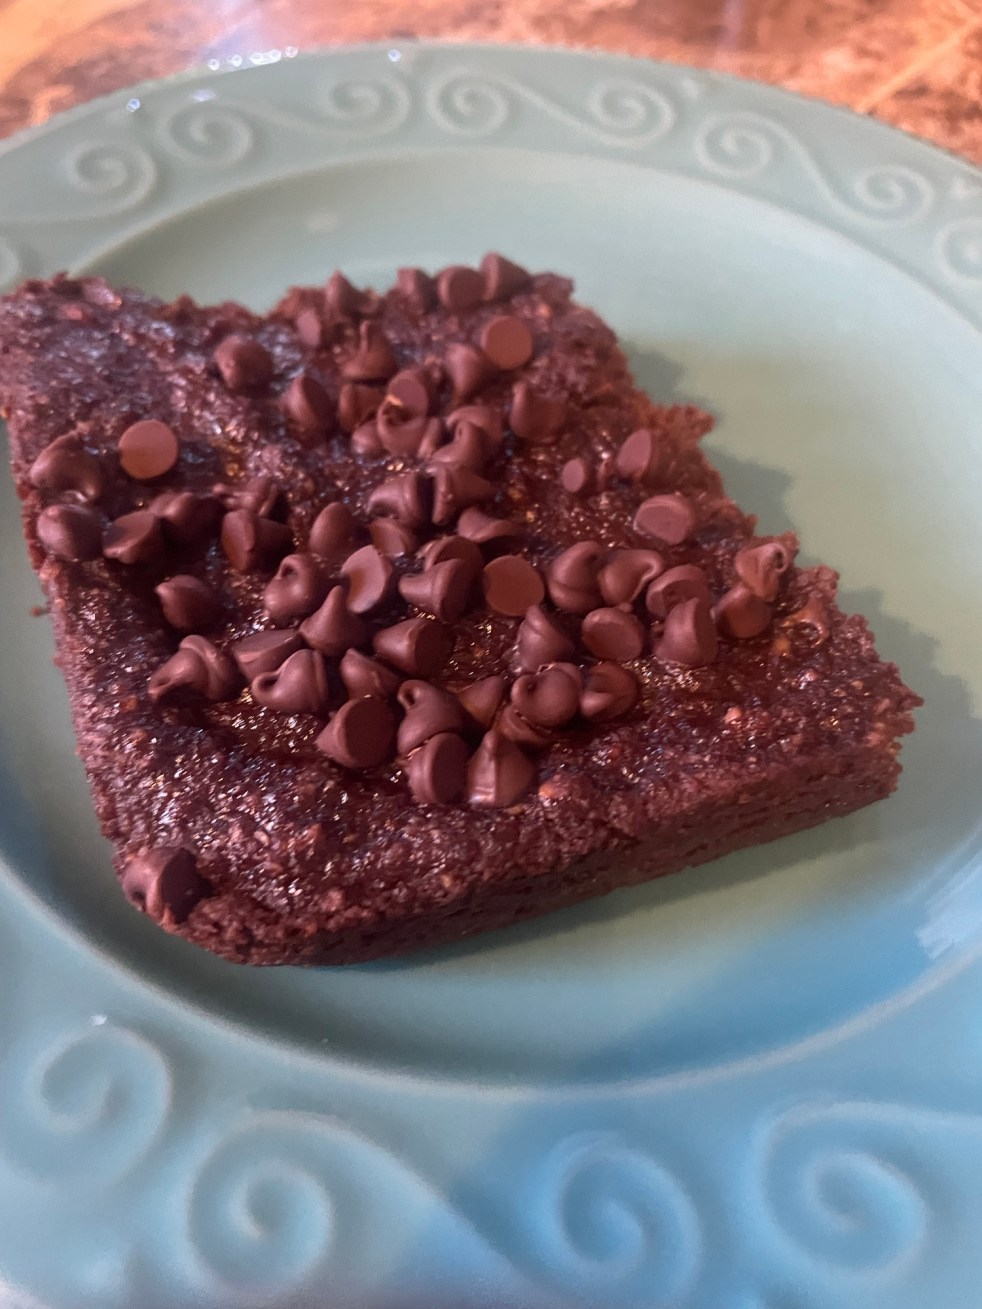
- 1/2 cup of semisweet chocolate chips
- 1 1/2 teaspoons of baking soda
- 1 teaspoon of vanilla extract
- A dash of cinnamon
- A dash of cloves
I also meant to add a teaspoon of salt, but completely forgot. Honestly, that happens sometimes when you cook from memory instead of from a recipe card. I figured I could always spread a little salted butter onto a warm slice and call it even.
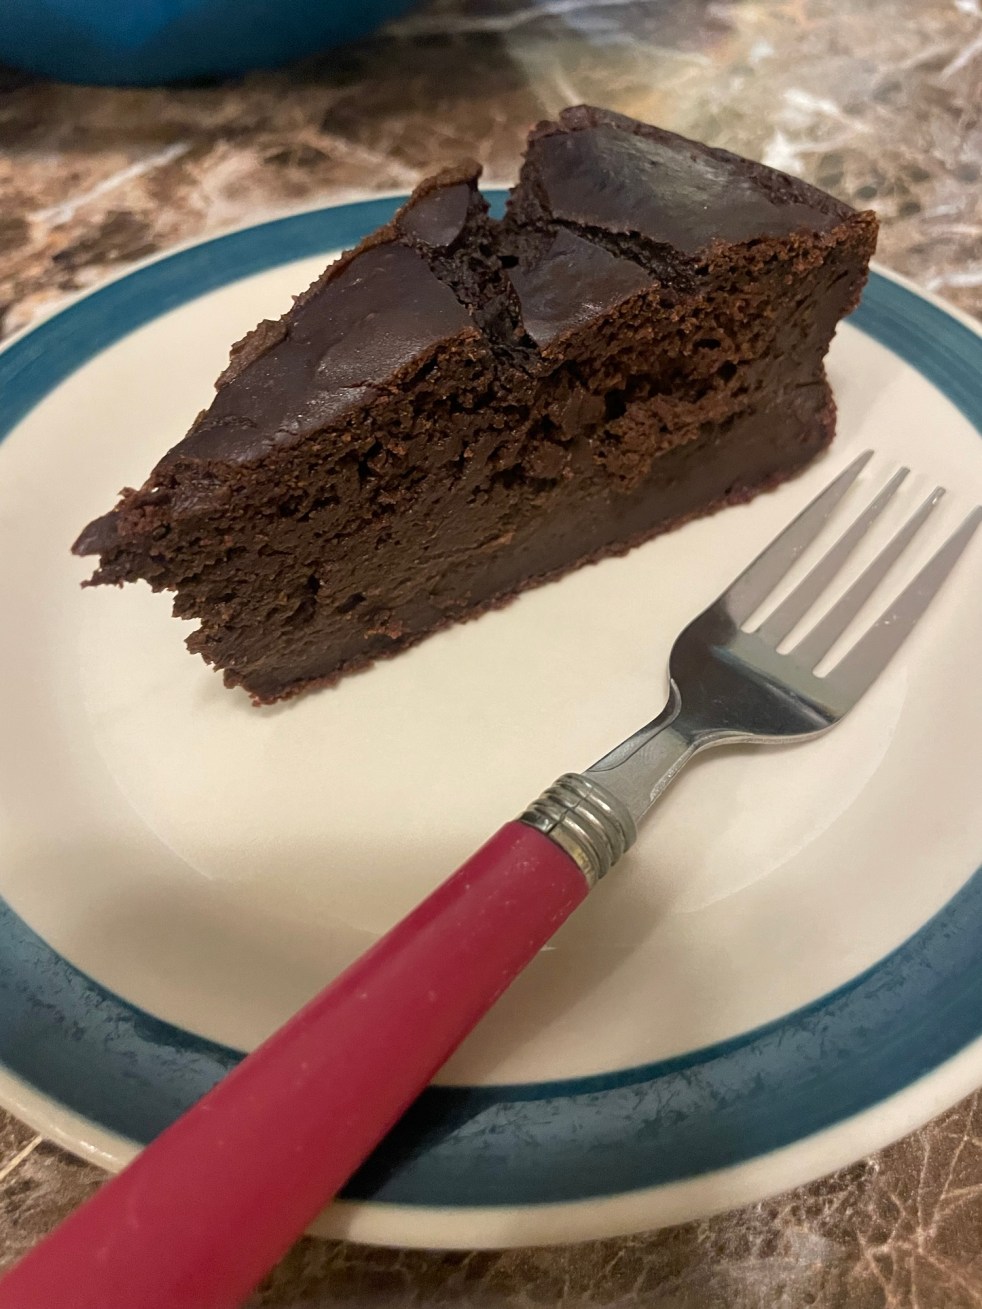
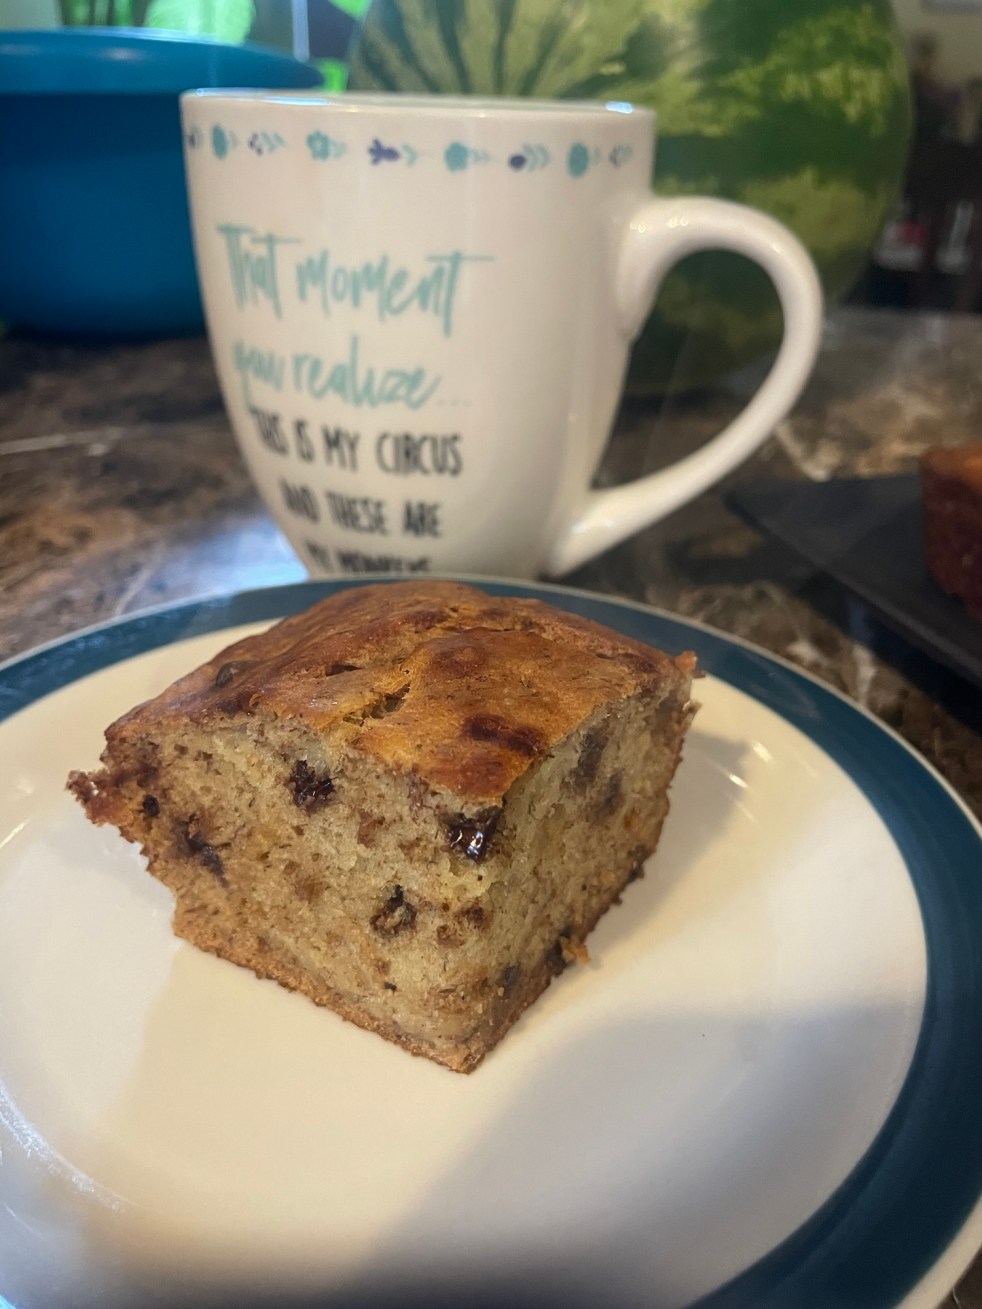
The bread came out soft, sweet, and full of chocolate in every bite. Exactly what I wanted.
Right now, I’m sitting here with a warm slice and a cup of coffee while the rest of the house is still asleep. The kitchen is quiet. The sun is barely up. And for a moment, life feels still in the best possible way.
Sometimes healing looks complicated. Sometimes it looks like rebuilding traditions in ways that fit your current life. And sometimes it looks like standing in your kitchen early in the morning, making banana bread that reminds you of where you came from while creating something new for the people you love now.
There is something beautiful about recipes evolving through generations. A little bit of memory. A little bit of adaptation. A little bit of love in every version.