Recipes

Holiday Sweet Potato Rolls: A Family Favorite (Even for the Picky Eaters!)

A Short Story From My Holiday Kitchen

The days leading up to Thanksgiving always feel like a quiet dance in my kitchen — not rushed, not frantic, just intentional. Over the years, I’ve learned to start preparing certain parts of our holiday meal days in advance. Not because I love being ahead of schedule (though it helps!), but because life has required it.

I’ve worked through many major holidays, sometimes only catching a few hours at home before heading back out again. And because of that, I had to learn how to create a holiday rhythm that made room for both my responsibilities and my children. A rhythm that allowed them to experience the joy of the season without feeling the absence of my schedule.

So I plan. I chop, mix, and prep early. I build flavors slowly. I tuck things away in the fridge and freezer like little promises to myself. I do it so that when the holiday arrives, I’m not drowning in tasks — I’m emotionally present, grounded, and able to enjoy those pockets of time with my kids, whether I’m home all day or just long enough to share a meal and laugh together.

And somewhere in the middle of all that preparation, these sweet potato rolls were born.

They came from a simple desire:
to help my youngest see the beauty and versatility of sweet potatoes — and to make sure they never felt like they were missing out on a food their siblings enjoyed.

They also became a symbol of my kind of holiday magic: finding small ways to stretch time, stretch love, and stretch tradition so my family gets to feel whole even on the days I’m balancing a lot.

These rolls have earned their place on our Thanksgiving table — soft, warm, and welcoming to even the pickiest eater in the house.


Every family has that one ingredient someone just can’t get behind — and in my house, that ingredient has always been sweet potatoes. My youngest has never been a fan, no matter how I bake them, mash them, roast them, or season them.

So over the years, I’ve made it my quiet mission to find ways to introduce sweet potatoes that highlight how versatile (and delicious!) they really are. I’ve tried plenty of versions, but only one has earned a full stamp of approval:

Sweet Potato Rolls.

Soft, slightly sweet, beautifully golden, and perfect for soaking up gravy or eating warm right off the pan — these rolls made their way onto our Thanksgiving table this year, and they did not disappoint. In fact, this is the only sweet potato recipe my youngest happily eats, which makes it even more special.

Whether you’re preparing for a holiday dinner or simply want a cozy roll recipe for the winter season, these sweet potato rolls are warm, comforting, and surprisingly easy to make.


Ingredients

For the dough

  • 1 cup pureed sweet potato
  • 1 cup (240 ml) room-temperature yogurt
  • 4 tbsp (57 g) unsalted butter, melted
  • 2 whole eggs, lightly beaten
  • 2 tbsp raw cane sugar
  • 2 1/4 tsp (1 packet) instant yeast
  • 1 1/2 tsp fine sea salt
  • 4 3/4 cups flour

For baking

  • 1/2 stick melted butter

Instructions

Make the Dough

  1. In the bowl of a stand mixer, combine the yogurt, melted butter, eggs, cane sugar, yeast, and sweet potato.
  2. Add the salt and 2 cups of flour, stirring for about 1 minute.
  3. Switch to medium-low speed and gradually mix in the remaining flour. Knead until a dough forms.
  4. Increase to medium-high speed and continue kneading for about 5 minutes, until the dough becomes soft, smooth, and slightly tacky.
    • If it’s too sticky, add flour a little at a time until manageable.
  5. Lightly spray a clean bowl with cooking spray. Place the dough inside, cover with a clean kitchen towel, and let it rise for 45 minutes to 1 hour, or until doubled in size.

Shape & Bake the Rolls

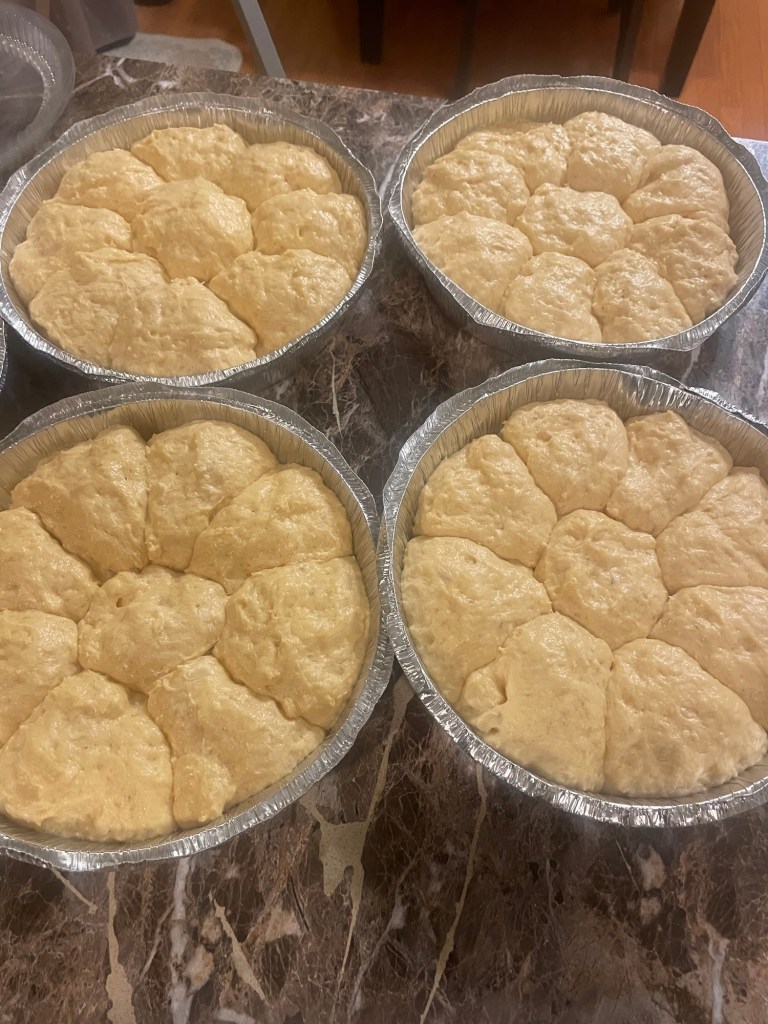
  1. Prepare a baking pan by spraying with cooking spray. Divide the dough into equal pieces and shape each into a smooth ball.
  2. Brush each roll with melted butter. Cover lightly with a kitchen towel and let rise for another 30 minutes, or until puffy.
  3. Preheat the oven to 375°F.
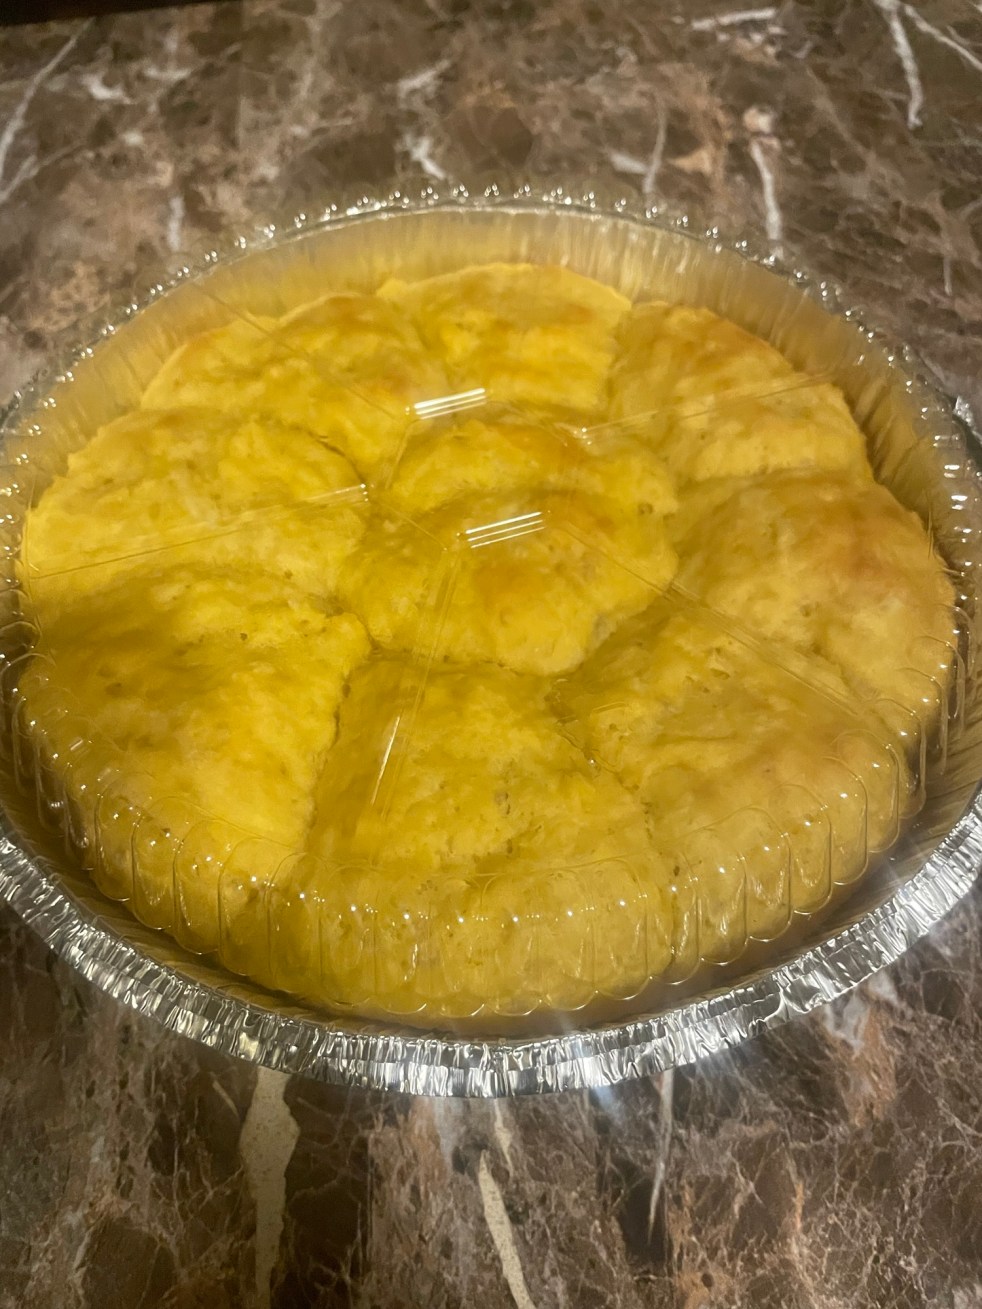
  4. Bake the rolls for 15 to 20 minutes, or until beautifully golden brown.
  5. Serve warm. Store leftovers in an airtight container or freezer-safe bag.

A Small Sweet Victory

What makes this recipe so meaningful isn’t just the flavor or the softness of the rolls — it’s the fact that they brought sweet potatoes back into our Thanksgiving meal in a way that made everyone happy, even my pickiest eater.

Sometimes the best recipes are the ones that quietly solve a family dilemma and create a new tradition at the same time.

Recipes

🍪 Festive Family Cookies: A Sweet Twist on Prue Leith’s Iced Tea Biscuits

Introduction

There’s something magical about baking during the holidays. Sweet aromas fill the kitchen. Laughter comes when flour dusts the counter. There is joy in creating something together as a family.

The kids and I decorated these while playing a musical trivia game.

This year, I wanted to try something a little different. I decided on a festive cookie that brings everyone to the table. It’s perfect for both baking and decorating. I was inspired by The Great British Baking Show and Prue Leith’s elegant Iced Tea Biscuits. I created my own version. It is a spiced, buttery cookie that’s crisp at the edges and soft in the center. It’s perfect for personalizing with colorful icing.

Ingredients

(Makes about 20 cookies)

  • For the cookies:

• 2 ¼ cups all-purpose flour

• ½ teaspoon baking powder

• ¼ teaspoon salt

• ½ teaspoon ground cardamom

• ½ teaspoon ground ginger

• ½ teaspoon ground cloves

• ¾ cup unsalted butter, softened

• ½ cup granulated sugar

• ½ cup brown sugar

• 1 large egg

• 1 teaspoon vanilla extract

• 1 teaspoon lemon or orange zest (for a bright, tea-inspired flavor)

  • For the icing:

• 1 ½ cups powdered sugar

• 1–2 tablespoons milk (adjust for consistency)

• ½ teaspoon vanilla or almond extract

• Food coloring or edible decorations (optional)

Instructions

  1. Preheat & Prepare: Preheat your oven to 350°F (175°C). Line two baking sheets with parchment paper.
  2. Make the Dough: In a bowl, whisk together the flour, baking powder, salt, cardamom, ginger, and cloves. In a separate bowl, beat the butter and sugars together until light and creamy. Add the egg, vanilla, and zest, then gradually mix in the dry ingredients until a soft dough forms.
  3. Roll & Cut: Lightly flour your surface and roll the dough to about ¼ inch thick. Cut into festive shapes — stars, trees, hearts, or whatever brings you joy.
  4. Bake: Place cookies on the prepared trays and bake for 8–10 minutes, or until the edges are just golden. Let them cool completely on a wire rack before decorating.
  5. Decorate Together: While the cookies cool, mix the icing ingredients until smooth and glossy. Divide and tint with colors of your choice. Then gather the family, pour some tea or cocoa, and enjoy decorating together.

(Insert your finished cookie photos here — include a mix of decorated and plain versions to show their natural beauty.)

Tips from My Kitchen

• These cookies taste even better the next day as the spices deepen.

• Let kids use piping bags or small squeeze bottles for creative designs.

• Store in an airtight container for up to a week — if they last that long!

Reflection

Baking these cookies reminded me that traditions don’t have to be passed down — sometimes, we create them from scratch. Whether it’s laughter over uneven icing or sneaking a cookie before the glaze sets, these moments are shared. They make the holidays special.

This recipe has officially earned a place in my family’s kitchen. It’s not just for its flavor. It is also cherished for the memories it helps make.

Recipes

A taste of home

Affiliate Disclosure:
This post may contain affiliate links. If you click through and make a purchase, I may earn a small commission at no additional cost to you. Thank you for supporting my writing and this blog.

Growing up in an African household, cooking was woven into our daily routine. My grandfather was a radical in a sense. He knew how to cook, bake, make his own moonshine and so much more. I spent a small part of my childhood with him and my grandmother. Those two shaped my life, my love of learning, gardening and cooking. Grandma didn’t write down her recipes. Neither did my mom. I am grateful that I have kept the recipes of many childhood treats. These meals are among my favorites.

In the attached video you will see me frying puff-puff, and this is such a versatile dish. It can be an appetizer, breakfast, or dessert. My kids especially liked it when I made puff-puff for their multicultural events at school.

To make puff-puff the way I remember it, you don’t need much — just flour, yeast, sugar, and warm water. But what makes it even better is having the right tools. I use a sturdy mixing bowl to combine the ingredients. I use a heavy cast-iron Dutch oven to fry them to golden perfection. When the puff-puff is done, I rely on a slotted spoon to lift them safely out of the oil. I do this just the way my grandmother did with her old kitchen tools.


My Kitchen Essentials for Puff-Puff

Slotted Spoon – makes lifting puff-puff out of hot oil simple and safe.

Mixing Bowls – for stirring and letting the dough rise.

Cast-Iron Dutch Oven – keeps the oil hot and steady, perfect for frying puff-puff evenly.

These are almost ready.

Puff-puff is a simply dish that I like to the menu on a regular basis.

African Puff-Puff Recipe

Ingredients:

2 cups plus 2 tbsp of warm water

2(1/4) tsp of active dry yeast

3(1/2) cups of all purpose flour

3/4 cup of raw cane sugar

1/2 tsp of salt

Olive oil or any vegetable oil

Optional items

  • 1/2 tsp of nutmeg
  • 1/2 tsp of powdered ginger
  • 1/2 tsp of cardamom

Instructions:

  1. Mix 2 tbsp of sugar, warm water, and active dry yeast in a large bowl. Set the mixture aside for 5 minutes, or until it becomes foamy.
  2. In another bowl sift the flour then add the remaining dry ingredients.
  3. Pour the dry ingredients into the yeast mixture and mix with either a hand held mixer or with a spatula.
  4. Cover up the batter and sit it in a warm place in your kitchen. You can use a proving draw of you want. Wait for about 1 to 2 hours and the batter should have doubled in size.
  5. In a large saucepan, pour your oil until it is about 1/3 to 1/2 of the way full. Warm it up on low heat.
  6. Test your oil by scooping a small amount of the batter and pour into saucepan. If the batter remains on the bottom of the pan, wait! Your oil is not hot enough. If your batter rises to the top of the pan within seconds then you are good to go.
  7. Most Africans scoop the batter with their hands and simply drop small dough balls into the hot oil. Don’t overcrowd the pan. It will affect cooking time. In some cases, it will make your puff-puff chewy.
  8. Fry the dough balls for a minute before turning them and cooking for a few minutes. Wait till they are golden brown.
  9. Placed the dough balls on a tray/plate covered with a paper towel to soak up excess oil.
  10. Set aside and cool off before serving with either powdered sugar, a savory sauce or just as is.
  11. This treat is prepared differently , depending on which part of Africa you are from.
  12. I am a product of Sierra Leone and this is how I remember it being made.

Thank you for stopping by 🙂