This was my first time ever making egg rolls, and I’m still smiling about how well they turned out.
I’ve been leaning more into Asian-inspired flavors lately as part of my vegan journey, mostly because they feel flexible, bold, and fun to experiment with. This dish came together after work, without a ton of pressure, and ended up being one of those meals where everyone actually agrees: this is good.
That alone felt like a win.
I didn’t follow a strict recipe — I adjusted, swapped ingredients, and trusted my instincts. And honestly? I’m so glad I did.
What I Used
Filling
- 1 block firm tofu, crumbled
- 2 tbsp olive oil
- 1 tbsp freshly grated ginger
- 1 tsp garlic
- 1 tsp turmeric
- 1 tbsp low-sodium soy sauce
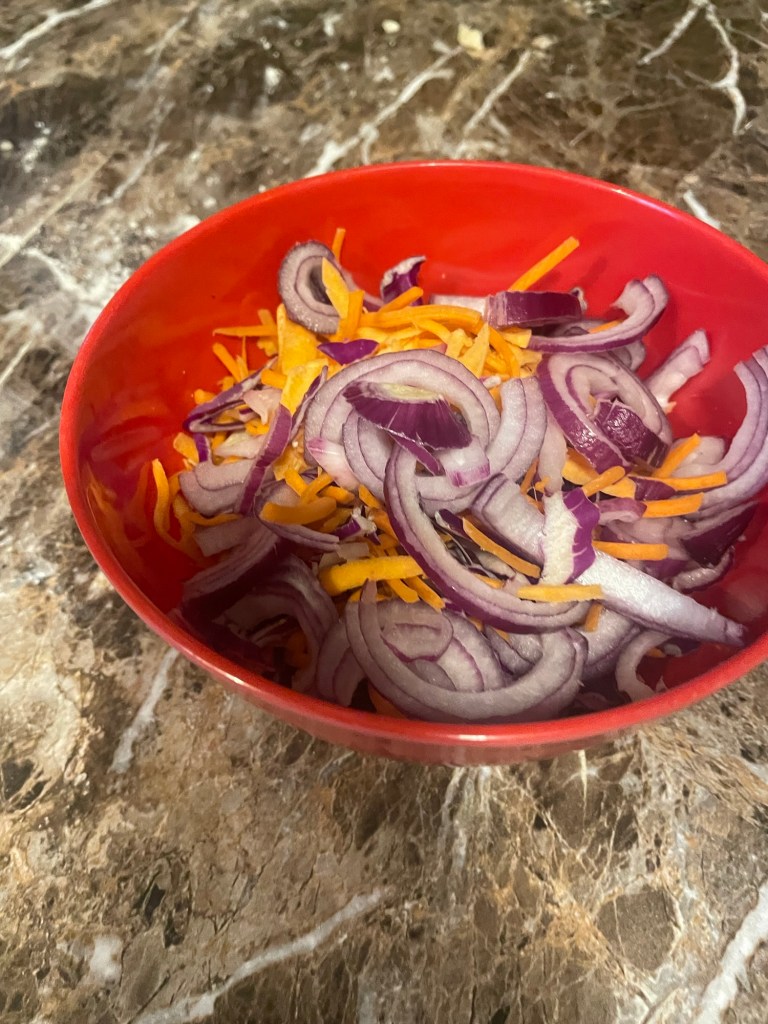
- ½ red onion, thinly sliced
- Sweet peppers, sliced
- Shredded sweet potatoes (instead of carrots)
- 4 scallions, chopped
For Wrapping & Frying
- Premade egg roll wrappers
- Oil for frying

How I Made Them
1. Prepare the Tofu
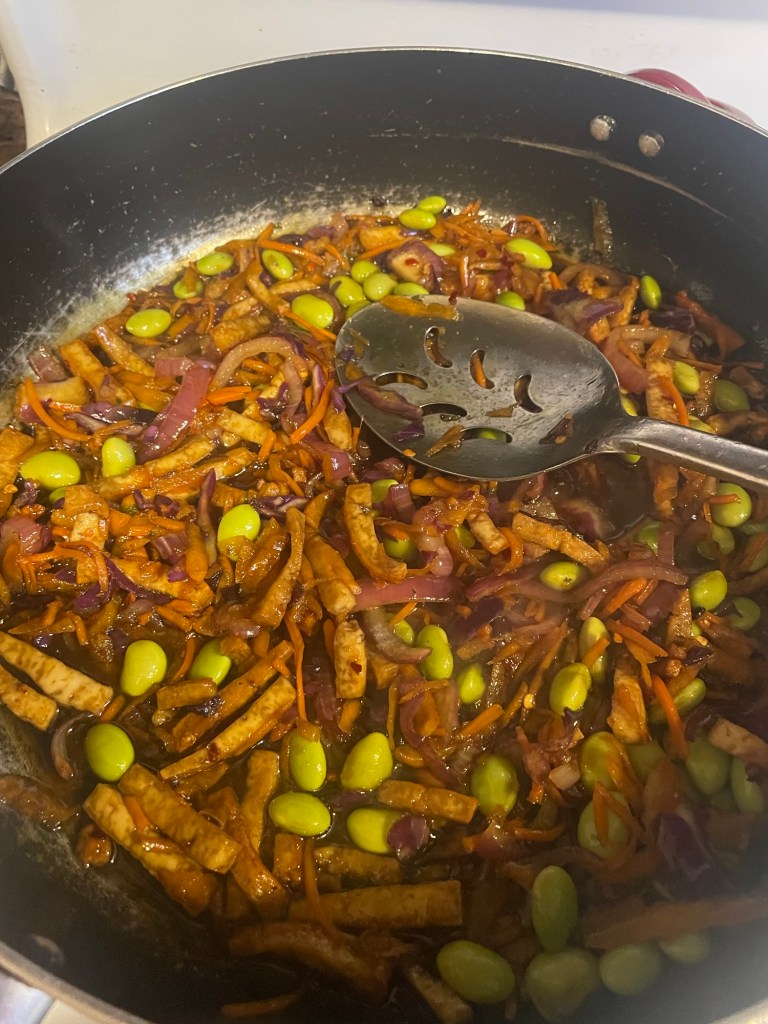
I crumbled the tofu and cooked it in olive oil with the ginger, garlic, turmeric, and soy sauce. I let it cook until it reached the texture and temperature I wanted — slightly firm, well-seasoned, and flavorful.
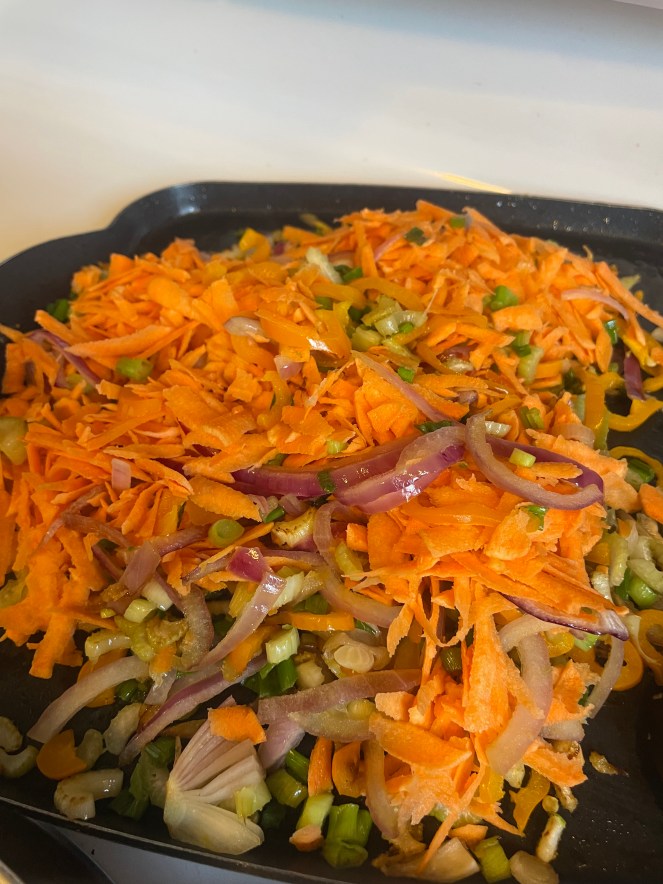
2. Cook the Vegetables
Once the tofu was ready, I cooked the vegetables separately on medium heat for about 5 minutes, just until they softened but still had a little bite.
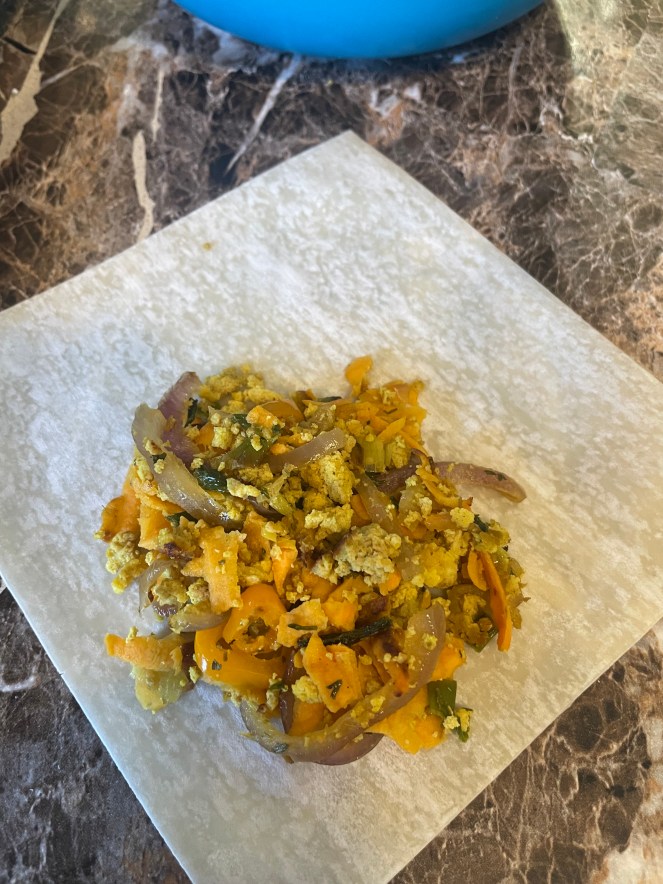
3. Combine & Cool
I added the tofu back into the pan with the vegetables and cooked everything together for another 5 minutes. Then I removed the mixture from the heat and let it cool to room temperature before wrapping.
(This step really matters — warm filling can tear the wrappers.)
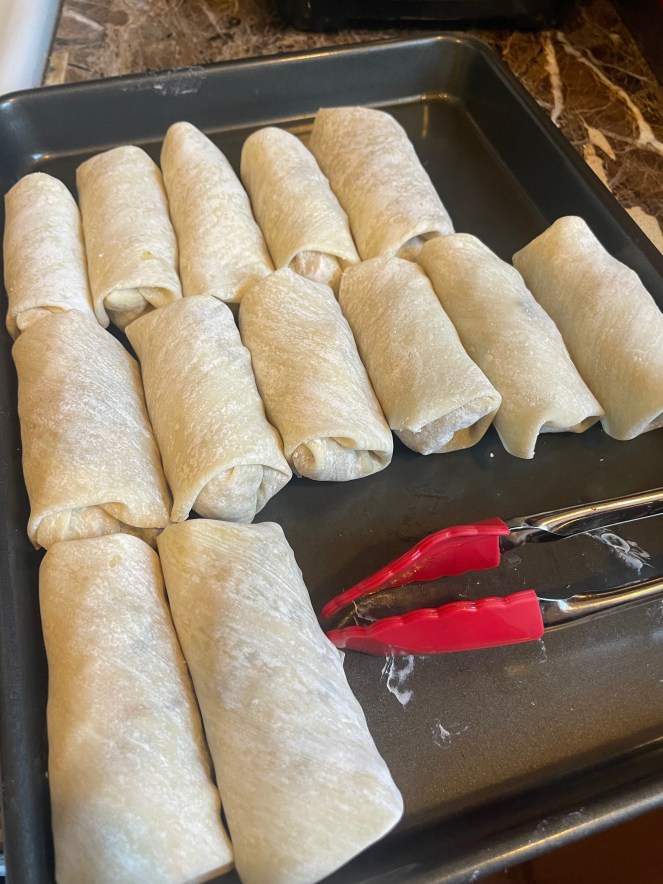
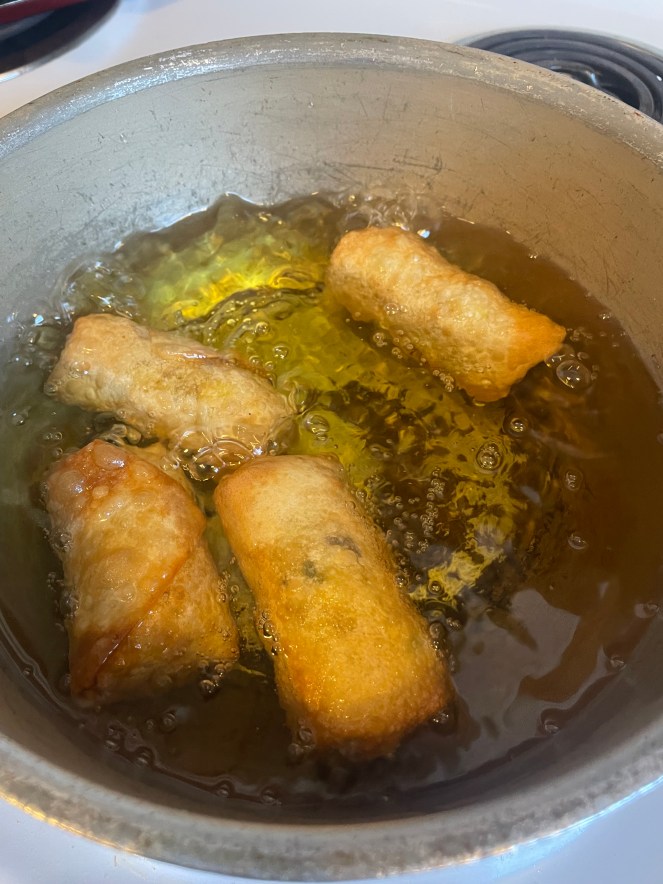
4. Wrap & Fry
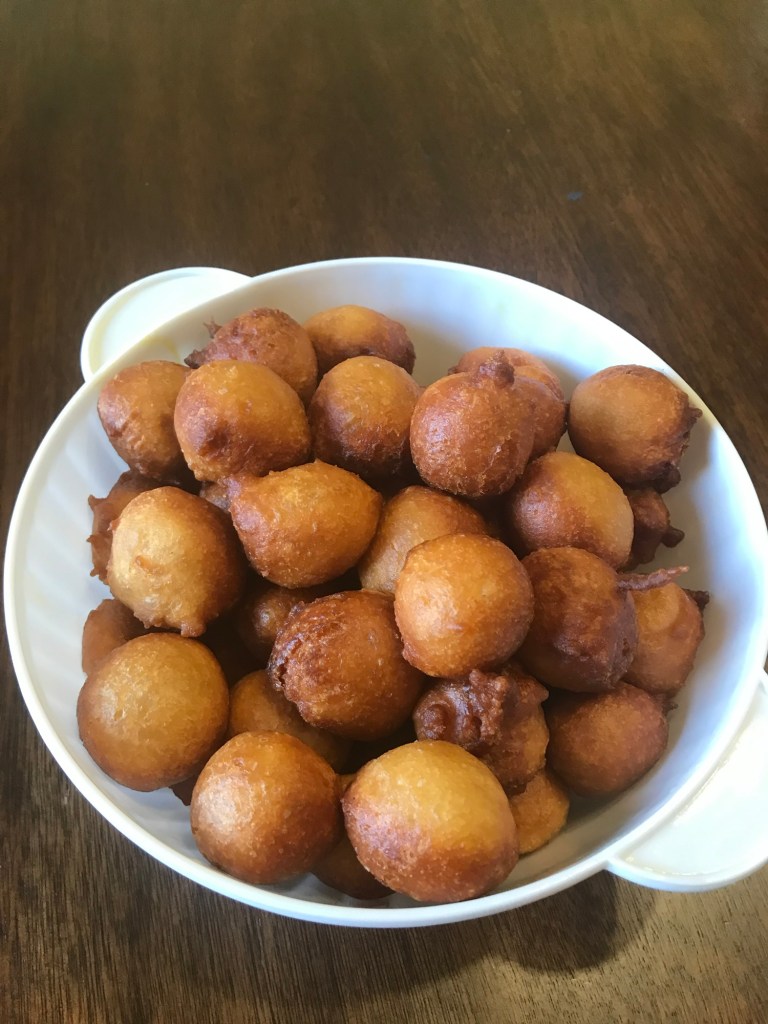
Using premade egg roll wrappers, I wrapped each egg roll individually and fried them for about 8 minutes, turning as needed, until they were golden and crisp.
5. Serve
I served them with a homemade soy sauce dipping mixture, and that was dinner.
Where I Bought My Ingredients (Weis Markets)
- Extra-firm tofu → Nasoya Organic Extra Firm Tofu
- Vegan egg roll wrappers → Nasoya Egg Roll Wraps
- Scallions (green onions) → Earthbound Farm Green Onions
- Sweet peppers (mini) → Bailey Farms Mini Sweet Peppers
- Red onions → Weis Fresh From the Field Red Onions
- Low-sodium soy sauce → Weis Quality Less Sodium Soy Sauce
- Garlic powder → Weis Quality Garlic Powder
- Olive oil → Pompeian Extra Virgin Olive Oil – Robust
- Grated ginger (stir-in paste) → Simply Nature Organic Ginger Stir-In Paste (Aldi)
These are not affiliate links — just sharing what worked for me and how I keep vegan meals flavorful, nourishing, and affordable.
Why This Recipe Is a Keeper
What made this meal special wasn’t just the flavor — it was the feeling. Trying something new, trusting myself in the kitchen, and watching my family enjoy it made the whole process feel rewarding.
The tofu held up beautifully, the sweet potatoes added warmth and balance, and the banana peppers gave just the right kick. For a first attempt, I couldn’t have asked for better results.
Looking Ahead
This recipe definitely opened the door for me. I’m excited to keep experimenting with more Asian-inspired vegan dishes — not just to keep things fresh, but to remind myself that this journey can be creative, joyful, and full of new favorites.
If this was my first attempt, I can’t wait to see what comes next.